How to Enable Two-Factor Authentication for Your IDS Hosting Account and cPanel
Keeping your hosting account safe is more important than ever. At IDS Hosting, we strongly recommend enabling Two-Factor Authentication (2FA) on both your IDS Client Area and your cPanel login.
2FA adds an extra layer of protection to your account, making it much harder for anyone else to gain access — even if they know your password.
Why Two-Factor Authentication Matters
-
Extra Security: A password alone isn’t always enough. 2FA requires a code from your phone as well, which only you can access.
-
Protects Email & Websites: A compromised hosting account can affect your email, website, and even your domain names.
-
Simple to Use: Once set up, logging in takes only a few seconds longer but offers far greater protection.
-
Peace of Mind: Know that your account is secured with the same technology used by banks and leading online services.
Step 1: Download Google Authenticator (Free)
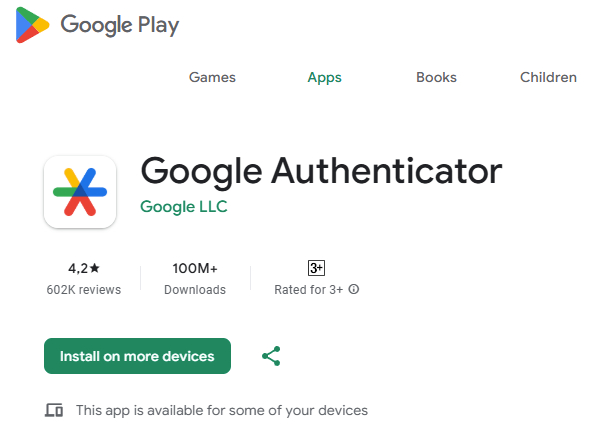
To get started, you’ll need an authenticator app on your phone. We recommend Google Authenticator (free and available for both iPhone and Android).
-
iPhone: Download from the App Store
-
Android: Download from Google Play

Step 2: Enable 2FA in the IDS Hosting Client Area
-
Log in to the IDS Hosting Client Area.
-
Go to Hello, [Your Name] > Security Settings (top right).
-
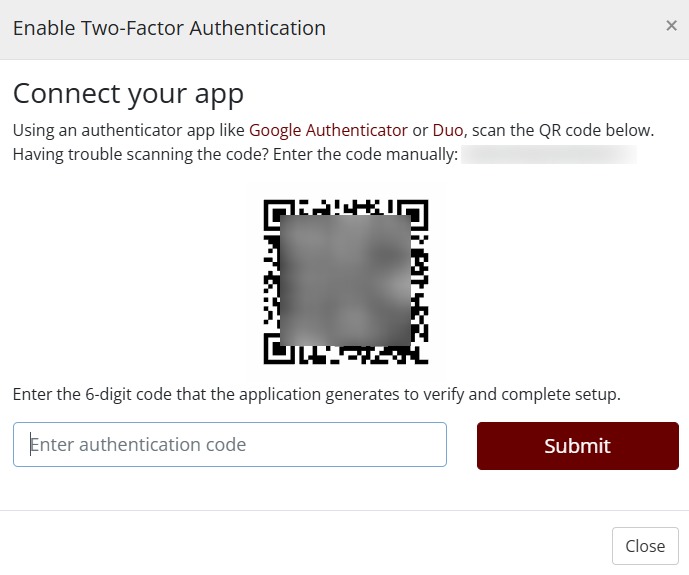
Under Two-Factor Authentication, click Click Here to Enable.
-
A QR code will appear on your screen.
-
Open Google Authenticator on your phone.
-
Tap the + button, then choose Scan a QR code.
-
Point your camera at the QR code on your screen.
-
The app will add a new entry showing your IDS Hosting login.
-
Enter the 6-digit code from Google Authenticator to confirm.
That’s it — from now on, when you log in, you’ll need both your password and the 6-digit code from your phone.
Step 3: Enable 2FA in Your cPanel
You can also protect your cPanel login (which manages your websites and emails).
-
Log in to your cPanel.
-
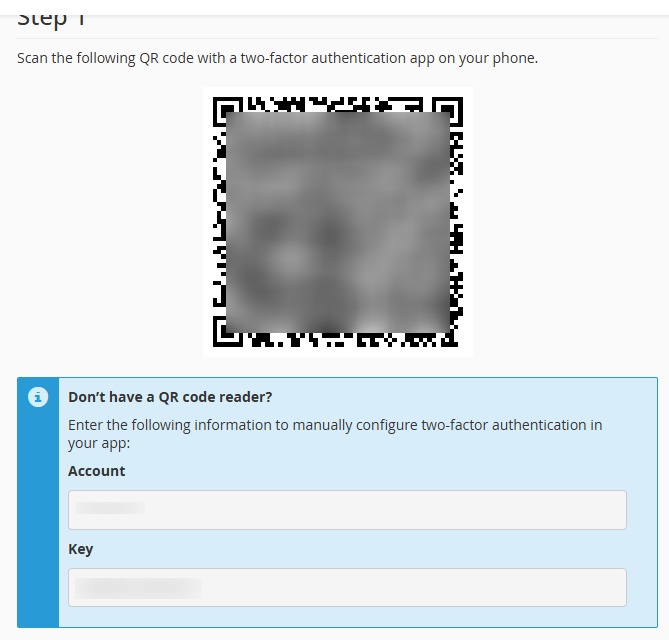
In the Security section, click Two-Factor Authentication.
-
Click Set Up Two-Factor Authentication.
-
Scan the QR code using Google Authenticator (same app as above).
-
Enter the 6-digit code to confirm.
What Happens If You Lose Your Phone?
Don’t worry — when you set up 2FA, you’ll be given backup codes. Store them somewhere safe (not on your phone). If you lose your phone, you can use one of these codes to get back into your account. If you don’t have backup codes, our support team can help you regain access.
Final Thoughts
Two-Factor Authentication is quick to set up and adds a powerful layer of protection for your hosting, email, and domain accounts. We highly recommend enabling it today in both your IDS Hosting Client Area and your cPanel.
Need Help?
If you’d like us to guide you through the setup, just open a support ticket and we’ll be happy to assist.
